Is Your Electrical System Quietly Draining Your Wallet? Here's How to Find Out
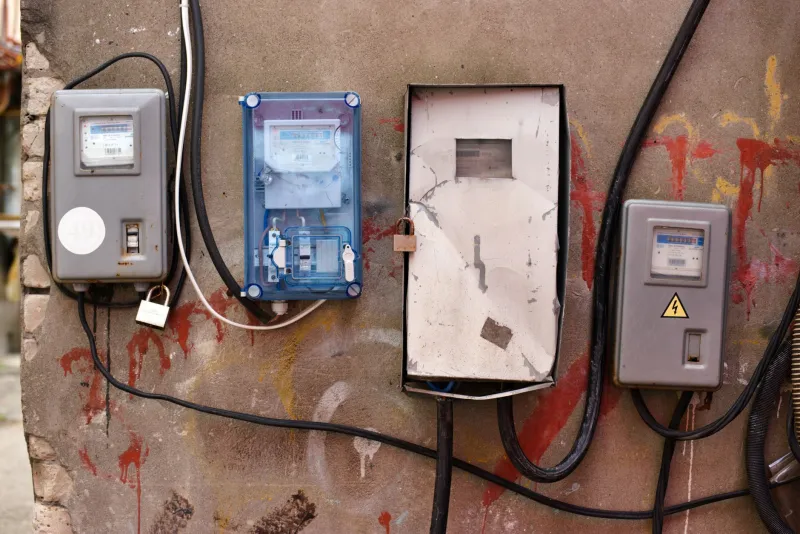
Every homeowner has had that moment — you open the electric bill, do a double-take, and wonder what on earth is going on. You haven't changed your habits. You're not running extra appliances. But somehow, the number keeps climbing. Before you call your utility company to complain, consider this: the problem might be inside your walls.
Your home's electrical system isn't something most people think about until something goes wrong. But a system that's outdated, overloaded, or just plain inefficient can quietly bleed energy month after month. The good news? You don't need to hire an electrician to do a preliminary audit. With a little know-how and a methodical approach, you can walk through your own home, spot the warning signs, and figure out exactly where your money is going.
Here's how to do it.
Start With Your Electrical Panel — It's Basically Your Home's Report Card
Your breaker panel is the command center of your home's electrical system, and it tells a story if you know how to read it. Head to your basement, garage, or utility closet — wherever your panel lives — and pop it open.
First, look at the basics. Is every breaker slot labeled clearly? If half of them say things like "lights" or "misc," that's a problem. Unlabeled or vaguely labeled breakers make it nearly impossible to manage your system efficiently or troubleshoot issues later.
Next, check for breakers that are in the middle position — not fully on, not fully off. That's a tripped breaker, and if it's happening regularly, it's a sign that circuit is being overworked. A breaker that trips once in a blue moon isn't a big deal. A breaker that trips every couple of weeks is telling you something important: you've got too much load on that circuit.
Also take note of the panel's age. If your home was built before 1990 and the panel hasn't been updated, there's a decent chance it's undersized for how modern households actually use electricity today. We're running more devices, more simultaneously, than homes were ever designed to handle.
Walk Every Room and Look for These Red Flags
Once you've assessed the panel, it's time to go room by room. You're looking for a handful of specific things that indicate inefficiency or potential hazards.
Two-prong outlets are a dead giveaway that your wiring is old. Modern appliances and electronics require three-prong grounded outlets for a reason — both for safety and to protect sensitive equipment. If your home still has two-prongers scattered around, your electrical system is likely decades behind where it should be.
Warm outlet covers or switch plates are a red flag you should never ignore. Give each one a quick touch. They should feel room temperature. Warmth means there's resistance in the wiring — and resistance means wasted energy and potential fire risk. Same goes for any outlet that buzzes, sparks, or smells faintly of something burning.
Extension cords used as permanent solutions are another sign that your circuits aren't keeping up with demand. If you've got power strips daisy-chained together or extension cords running under rugs, you're both overloading circuits and creating genuine safety hazards.
Flickering or dimming lights when you run appliances — like when the lights dip every time the microwave kicks on — suggest that your circuits are shared poorly or that you've got voltage fluctuations happening. Neither is good for your energy efficiency or your appliances' lifespans.
Audit Your Lighting Circuits Specifically
Lighting is one of the biggest low-hanging fruit opportunities in any home energy audit. Walk through every room and make note of what kind of bulbs are currently installed. If you're still running incandescent or even older CFL bulbs anywhere, you're leaving money on the table.
LED bulbs use roughly 75% less energy than incandescent bulbs and last significantly longer. Swapping them out is one of the simplest and most cost-effective DIY upgrades you can make — and it's something any homeowner can do in an afternoon.
But beyond the bulbs themselves, think about how your lighting circuits are set up. Are there rooms with no dimmer switches? Dimmers don't just create ambiance — they genuinely reduce energy consumption when used consistently. Installing a dimmer switch on a standard circuit is a manageable DIY project for most homeowners comfortable with basic electrical work.
Also consider whether any of your exterior lights are on all night without a sensor or timer. Outdoor lighting on a dusk-to-dawn photocell sensor or a programmable timer can make a noticeable dent in your monthly bill without any sacrifice in security or convenience.
Use a Plug-In Energy Monitor to Find Phantom Loads
Here's something a lot of homeowners don't realize: appliances and electronics draw power even when they're turned off. This is called a phantom load or standby power, and it can account for anywhere from 5% to 10% of your total household electricity use.
A simple plug-in energy monitor (you can grab one for around $25 at any home improvement store) lets you measure exactly how much power any individual device is drawing. Plug it in between the outlet and the appliance, and it'll show you real-time wattage, daily usage estimates, and even projected annual costs.
Work your way through your home's major energy users: televisions, gaming consoles, older refrigerators, window AC units, desktop computers, and any appliance with a digital clock or standby mode. You might be surprised which ones are the worst offenders.
Older refrigerators are notorious energy hogs — a unit from the early 2000s can cost two to three times more to run annually than a current Energy Star model. If your fridge is pushing 15 years old, the energy monitor will make that cost very real, very fast.
Know the Line Between DIY and Call-a-Pro
Here's where we have to be straight with you: some electrical work is absolutely DIY-friendly, and some of it isn't. Knowing the difference protects both your home and your safety.
Things most homeowners can safely DIY:
- Swapping out light bulbs and fixtures (with power off at the breaker)
- Replacing standard outlets and switches
- Installing dimmer switches on compatible circuits
- Adding plug-in smart outlets or energy monitors
- Labeling your breaker panel
Things that require a licensed electrician:
- Upgrading your electrical panel
- Adding new circuits
- Replacing aluminum wiring (common in homes built in the late 1960s and 70s)
- Any work involving the main service entrance
- Fixing wiring that's inside finished walls and ceilings
If your audit turns up signs of aluminum wiring — look for the letters "AL" stamped on wiring or outlets — stop and call a pro. Aluminum wiring requires specific connectors and techniques, and it's not something to improvise.
Turn Your Findings Into a Fix-It Plan
Once you've completed your walkthrough, you'll probably have a list of issues ranging from quick wins (swap those bulbs, add a dimmer) to bigger projects (upgrade outlets in the kitchen, get a quote on panel work). Prioritize by safety first, then by energy impact.
The fixes you can handle yourself? Batch them into a weekend project. The stuff that needs a pro? Get two or three quotes so you know what you're working with financially before committing.
The point of a DIY electrical audit isn't to replace professional expertise — it's to arm yourself with information. When you know what's actually happening in your home, you can make smarter decisions, spend money where it matters, and stop paying for inefficiency you didn't even know existed.
Your home works hard for you. A little audit goes a long way toward making sure you're not working harder than you have to just to keep the lights on.