Why Your Renovation Budget Is Already Wrong (And How to Fix It Before You Start)
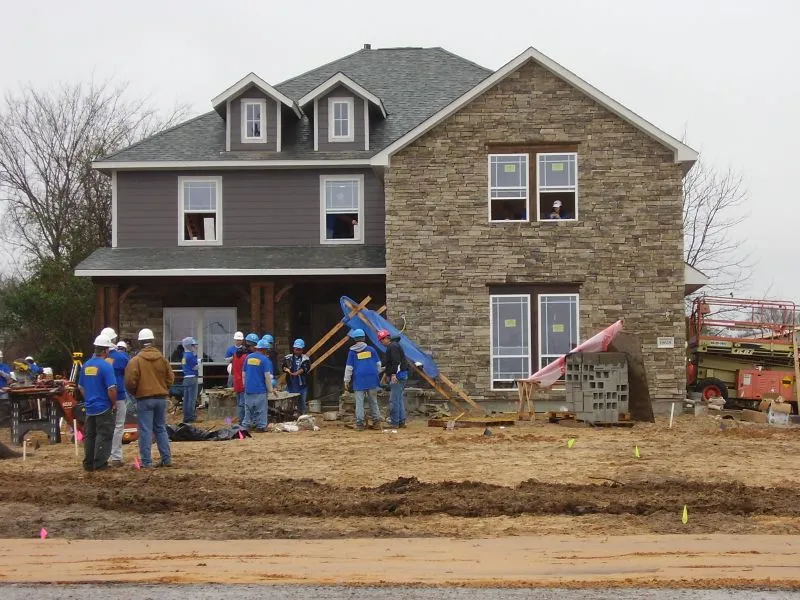
Photo: The Sharpteam, CC BY-SA 2.0, via Wikimedia Commons
Let's be honest. You've done the math. You've priced out the tile, compared lumber costs at three different stores, and even found a decent deal on that vanity you've been eyeing for months. Your spreadsheet looks solid. Your confidence? High.
Then the drywall comes off and there's water damage behind it. Or the hardware store is suddenly out of the flooring you already committed to, and the next closest match costs 40% more per square foot. Or you're three hours into demo and realize you need a tool you don't own — one that costs $180 to rent for the weekend.
Welcome to the real renovation experience.
The gap between what a project should cost and what it does cost isn't just a financial problem — it's a stress problem, a relationship problem, and sometimes a project-stopping problem. But it doesn't have to be. If you build your budget the right way from the start, those curveballs become inconveniences instead of disasters.
The Psychology of Budget Optimism (And Why It Costs You)
Humans are notoriously bad at estimating time and money, especially for creative or complex tasks. Researchers call it the "planning fallacy" — we focus on the best-case version of a project and mentally push aside the things that could go wrong. It's not stupidity. It's just how brains work.
For DIYers, this shows up constantly. You estimate based on the YouTube tutorial that made it look easy, not on the reality that your 1960s ranch house has quirks no algorithm can predict. You price materials at today's rates without accounting for the fact that lumber, concrete, and even basic hardware have shown serious price volatility in recent years. You forget that your first attempt at something — tiling, for instance — will almost certainly take longer and waste more material than a seasoned pro's would.
Recognizing this bias is step one. Building a budget that accounts for it is step two.
What "Hidden Costs" Actually Looks Like in the Real World
Before we get into percentages and frameworks, let's talk about where the money actually disappears. These are the categories that catch DIYers off guard most often:
Tools and Equipment You Didn't Know You'd Need Every project has a "wait, I need a what?" moment. A tile saw rental. A specific drill bit. A chalk line. A moisture meter. Individually, these feel minor. Collectively, they can add $100–$400 to a mid-size project before you've even gotten started.
Material Overages and Waste Professionals order materials with waste built in — typically 10–15% extra for cuts, mistakes, and breakage. First-timers often order exactly what the square footage calls for and end up making emergency runs to the store, sometimes to find the product is out of stock or the dye lot has changed.
Structural or Infrastructure Surprises Demo is where budgets go to die. Old insulation that needs disposal. Subfloor rot you couldn't see until the carpet came up. Plumbing that's not where the blueprint says it is. These aren't rare exceptions — they're common enough that any honest contractor will tell you to expect them.
Permit Fees and Inspection Costs Depending on where you live and what you're doing, permits can run anywhere from $50 to several hundred dollars. Skip them and you risk issues when you sell. Budget for them upfront.
Finishing Details That Add Up Fast Trims, caulk, transition strips, outlet covers, hardware — the "little stuff" at the end of a project has a way of adding up to several hundred dollars you didn't plan for.
How to Calculate a Realistic Contingency (By Project Type)
Here's the part most budgeting guides skip: your contingency percentage shouldn't be a flat number. It should scale based on three factors — project complexity, material volatility, and your own skill level.
Cosmetic Updates (painting, hardware swaps, light fixture changes) These are low-risk, low-surprise projects. A 5–10% buffer is usually sufficient. You know what you're getting into, the materials are stable-priced, and demo isn't really part of the equation.
Mid-Level Projects (flooring, backsplash, cabinet refacing) Bump your contingency to 15–20%. There's more opportunity for material waste, tool needs, and minor structural surprises. If you're newer to this type of work, lean toward the higher end.
Gut Renovations and Structural Work (bathroom remodels, kitchen overhauls, basement finishing) This is where you need a real buffer — 20–30%, no exceptions. These projects involve demo, plumbing, electrical, and framing, all of which can surface problems that weren't visible at the planning stage. If your home is older than 30 years, add another 5% on top of that.
Older Homes (pre-1980 construction) Add a flat 5–10% to whatever category above applies. Older homes come with lead paint considerations, knob-and-tube wiring surprises, non-standard dimensions, and materials that simply don't behave the way modern stuff does.
Where to Actually Keep Your Contingency Fund
This might sound obvious, but your contingency money needs to be real money in a real account, not a mental note that you'll figure it out if something goes wrong. That's how people end up stopping a project halfway or putting unexpected costs on a credit card at 24% interest.
Open a separate savings account and name it something specific — "Kitchen Reno Buffer" or "Bathroom Fund." Transfer the contingency amount before you buy a single material. Treat it as untouchable unless an actual project emergency arises. The goal is to finish the project without touching it — but the peace of mind of having it there is worth every dollar.
When Things Go Sideways: A Calm-Down Framework
Even the best-planned projects hit walls. Here's how to handle it without spiraling:
- Stop before you react. When you hit an unexpected problem, resist the urge to immediately start problem-solving with your wallet. Take a day if you need to.
- Get a second opinion on cost. For structural surprises especially, get at least two quotes before committing to a fix. The first number you hear is rarely the only option.
- Separate the urgent from the optional. Not every surprise needs to be fixed right now. Some things can be addressed in a future phase without derailing the current project.
- Document everything. Photos, receipts, notes on decisions made mid-project. This protects you down the road and helps you estimate better next time.
The Real ROI of Good Budget Planning
Here's the thing about contingency planning that nobody really talks about: it doesn't just protect your bank account. It protects your enjoyment of the project. DIY home improvement is supposed to feel empowering — like you built something, fixed something, made your space better with your own hands. That feeling gets completely swamped when you're stressed about money, fighting with a partner about overruns, or staring at a half-finished room because you ran out of funds.
Building a realistic budget, with a real buffer baked in, is the single most impactful thing you can do before a single piece of drywall comes down or a single tile gets set. It's not pessimistic. It's just smart.
And when you finish the project — on budget, with a little left over — that feeling is even better than you planned for.